Steven and I had been talking about making a chalkboard for quite a while. I finally bit the bullet and purchased chalkboard paint from hobbylobby.com. A few weeks later, we took a trip to Lowes and a craft store and picked up the rest of the supplies:
– Decorative Molding
– Wood Stain
– 24inch x 36inch by 1 inch wood panel
– Chalk
– Wood glue
– Sandpaper
– A paintbrush for the chalkboard paint and one for the stain
– A saw to cut the wood
Here are photos of the process!
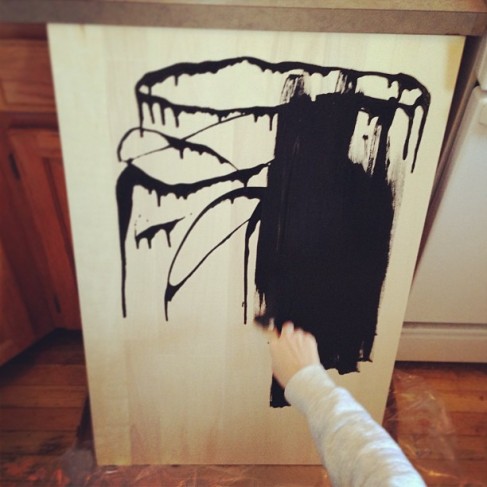
1. Cover wood panel (vertical strokes) with chalkboard paint.
2. Let dry for one hour.
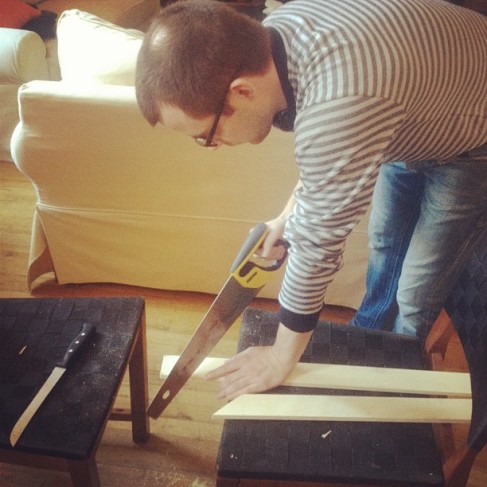
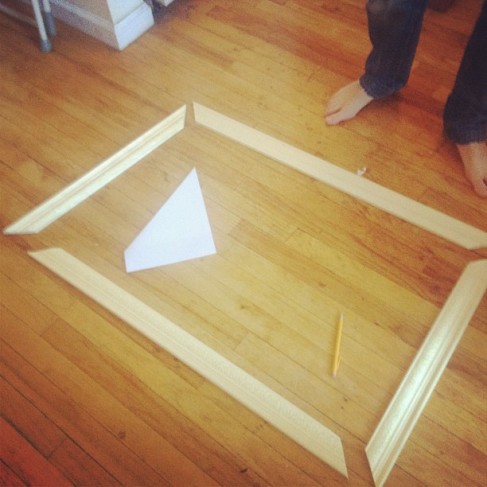
3. In the meantime, we sawed the molding to create a frame.
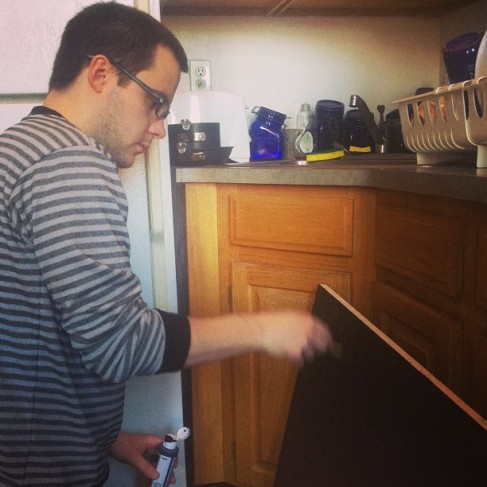
4. After an hour, we painted chalkboard horizontally with a second coat.
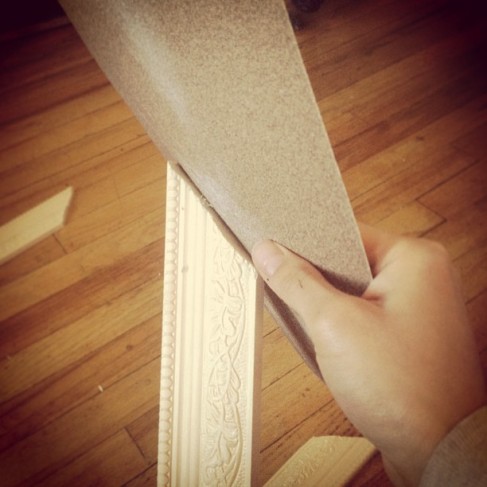
5. While the second coat of chalkboard paint dried, we sanded the edges of the frame.
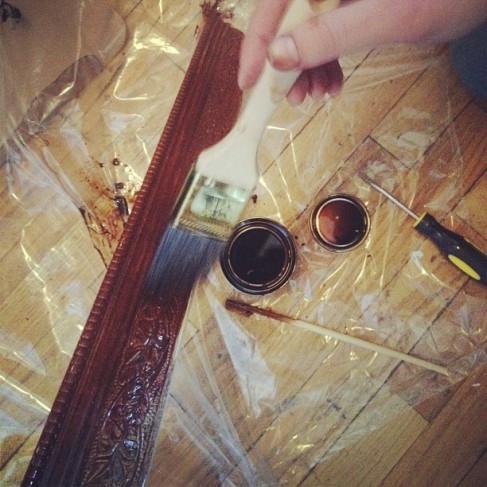
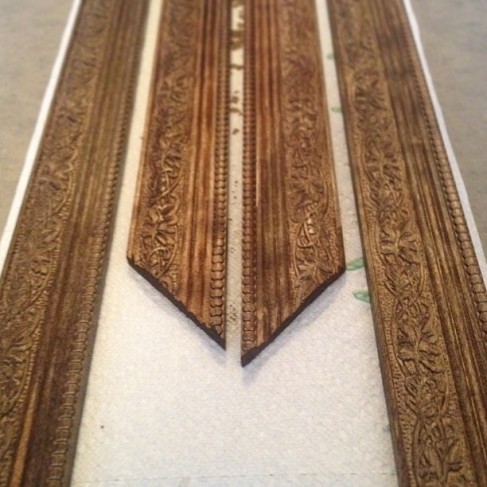
6. We then stained the frame and allowed to dry for 4 hours.
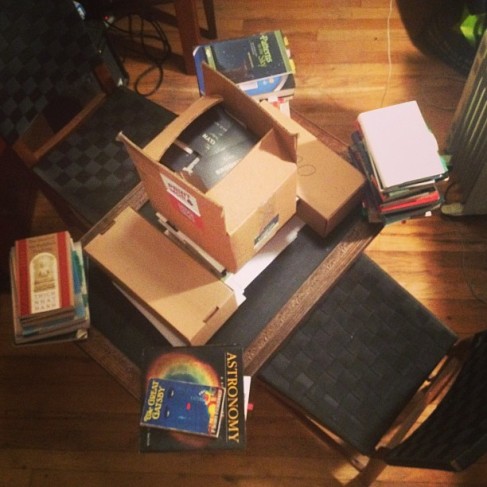
7. As the 2×3 board dried, it had bowed a bit. Thus, we glued the frame to the board and piled massive amounts of books on top to flatten it out. We let the chalkboard dry overnight.
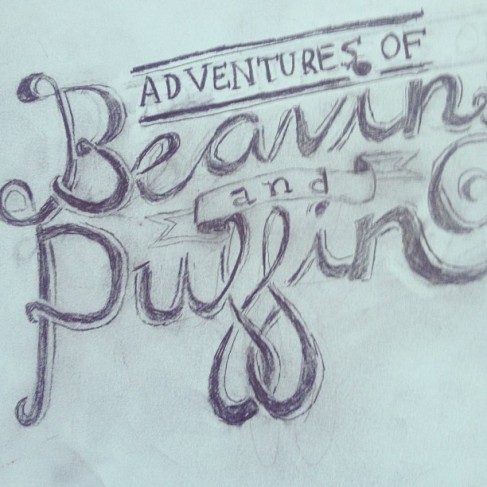
8. I wanted to create a typographical chalkboard treatment to our headline, “Adventures of Beavins and Puffin.” It took me a good while to work out on paper. Post-comping, I copied onto the chalkboard in chalk
9. The finished product!


